Session 6: Self-Driving SuperTuxKart with ROS2 and OpenCV
What We’ll Do
Using the camera image, make the car drive itself
Watch the car race on its own!
Compete with your friends to see who can make the fastest self-driving car
Making the Car Drive Itself
Code Explanation
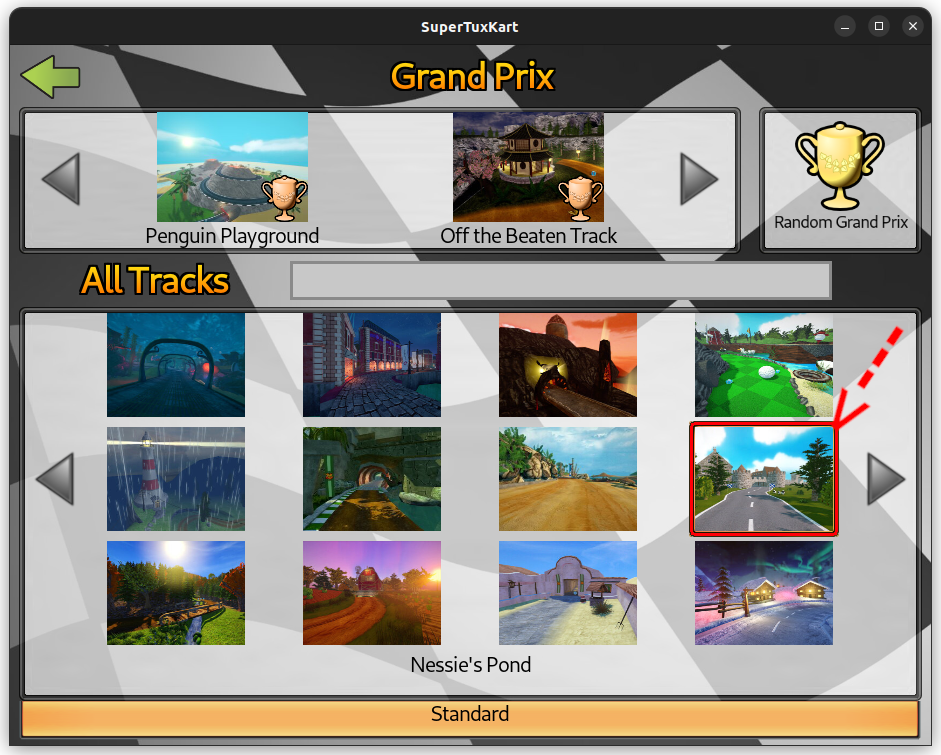
This code helps the code see the road and then control the car to stay on the road in Nessie's Pond.
Lane Follower with ROS2 and OpenCV
In this section, we’ll create a ROS2 node that processes images from a game to follow a lane autonomously using HSV color detection.
import rclpy
from rclpy.node import Node

from sensor_msgs.msg import Image
import cv_bridge
import cv2
from geometry_msgs.msg import Twist
import numpy as np

CONTROL_COEFFICIENT = 0.02

class LaneFollower(Node):
    def __init__(self):
        super().__init__("my_running_node")
        self.create_subscription(
            Image, "/stk_image", self.image_cb, 1
        )
        self.cmd_pub = self.create_publisher(Twist, "/cmd_vel", 1)

    def image_cb(self, msg):
        img = cv_bridge.CvBridge().imgmsg_to_cv2(msg, "bgr8")

        twist_msg = Twist()
        twist_msg.linear.x = 0.3

        img = cv2.cvtColor(img, cv2.COLOR_BGR2HSV)
        img = cv2.GaussianBlur(img, (5, 5), 0)
        mask = cv2.inRange(img, np.array([92, 0, 90]), np.array([179, 42, 154]))

        # Find the largest segmented contour
        contours, _ = cv2.findContours(mask, cv2.RETR_EXTERNAL, cv2.CHAIN_APPROX_NONE)

        if contours:
            largest_contour = max(contours, key=cv2.contourArea)
            largest_contour_center = cv2.moments(largest_contour)

            if largest_contour_center["m00"] != 0:
                center_x = int(
                    largest_contour_center["m10"] / largest_contour_center["m00"]
                )
                # Find error (the lane distance from the target distance)
                error = center_x - img.shape[1] / 2
                twist_msg.angular.z = -error * CONTROL_COEFFICIENT
        else:
            twist_msg.linear.x = 0.0
            twist_msg.angular.z = 0.0

        self.cmd_pub.publish(twist_msg)

def main():
    rclpy.init()
    rclpy.spin(LaneFollower())
    rclpy.shutdown()

if __name__ == "__main__":
    main()
Code Explanation:
Image Conversion
The first step in the image processing pipeline is to convert the ROS2 image message to an OpenCV-compatible format:
img = cv_bridge.CvBridge().imgmsg_to_cv2(msg, "bgr8")
cv_bridge.CvBridge().imgmsg_to_cv2: Converts the image message into an OpenCV image. The “bgr8” ensures the image is in BGR format, which is standard for OpenCV.
Color Space Conversion
To make color detection easier, the image is converted from the BGR color space to the HSV (Hue, Saturation, Value) color space:
img = cv2.cvtColor(img, cv2.COLOR_BGR2HSV)
cv2.cvtColor: Converts the color space of the image. The cv2.COLOR_BGR2HSV flag changes the color space from BGR to HSV. HSV is preferred for color segmentation because it separates chromatic content (color) from intensity, making it easier to filter colors.
Blurring the Image
Before applying the mask, the image is blurred to reduce noise and make the lane detection more robust:
img = cv2.GaussianBlur(img, (5, 5), 0)
cv2.GaussianBlur: Applies a Gaussian blur to the image, which smoothens the image and reduces noise. The (5, 5) kernel size determines the extent of the blur. A larger kernel would result in more blur.
Color Segmentation
A binary mask is created to segment the lane based on the HSV color range:
mask = cv2.inRange(img, np.array([92, 0, 90]), np.array([179, 42, 154]))
cv2.inRange: Generates a binary mask where the pixel values within the specified HSV range are set to 255 (white), and those outside are set to 0 (black). The range [92, 0, 90] to [179, 42, 154] defines the specific hue, saturation, and value that corresponds to the lane color. Adjust these values based on the color of the lane you’re detecting.
Contour Detection
The contours of the segmented areas are found in the binary mask:
contours, _ = cv2.findContours(mask, cv2.RETR_EXTERNAL, cv2.CHAIN_APPROX_NONE)
cv2.findContours: Detects the contours in the binary mask. Contours are simply the boundaries of shapes found in the binary image. The cv2.RETR_EXTERNAL flag retrieves only the outermost contours, which is typically sufficient for lane detection. cv2.CHAIN_APPROX_NONE stores all the points along the contour boundary.
Contour Analysis
The largest contour is selected based on its area, and its center is calculated:
largest_contour = max(contours, key=cv2.contourArea)
largest_contour_center = cv2.moments(largest_contour)
cv2.contourArea: Calculates the area of each contour, allowing us to identify the largest contour, which is likely the lane.
cv2.moments: Calculates spatial moments of the contour. The moments are used to find the centroid (center) of the contour, which indicates the lane’s position on the road.
If the area of the largest contour is non-zero, the centroid is calculated:
if largest_contour_center["m00"] != 0:
    center_x = int(largest_contour_center["m10"] / largest_contour_center["m00"])
    error = center_x - img.shape[1] / 2
largest_contour_center[“m00”]: Represents the area of the contour (zeroth moment).
largest_contour_center[“m10”] / largest_contour_center[“m00”]: Calculates the x-coordinate of the centroid, where m10 is the first spatial moment.
The error value represents the horizontal displacement of the lane from the center of the image, which is used to adjust the robot’s steering.
Command Publishing
The calculated steering command is then published to the
/cmd_veltopic to control the vehicle:twist_msg.angular.z = -error * CONTROL_COEFFICIENT self.cmd_pub.publish(twist_msg)
This code allows the ROS2 node to follow lanes in a simulated environment, using color detection to guide the vehicle.
Running the Final Autonomous Race
Now that everything is set up, let’s run the final autonomous race! Start SuperTuxKart and watch your car drive itself around the track.
Hint
If the car is not driving as expected, try adjusting the HSV filter values to better detect the road.
Congratulations! You’ve successfully made a self-driving car in SuperTuxKart using ROS2 and OpenCV. Now, you can compete with your friends to see who can make the fastest self-driving car.
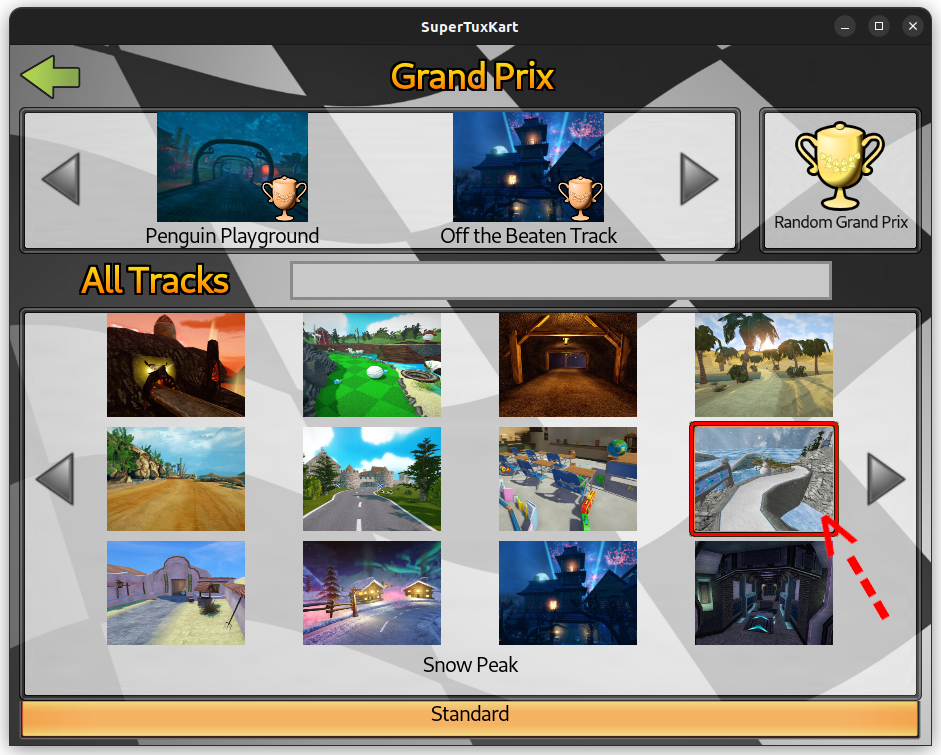
We’ll compete in Snow Peak and see who can make the fastest self-driving car. Let
Hint
Subscribe to
/stk_distance_to_centerto get the distance of the car from the center of the road. And, if the car is too far from the center, call/stk_rescueservice. Do not use this value to control the car.In the
Snow Peaktrack, the road color is different. You will need to adjust the HSV filter values to detect the road color.There’s a section in track’s route, where the road color changes. You will need to adjust the HSV filter values to detect the road color in that section. You can use the
/stk_distance_travelledtopic to detect this section.
Have fun racing your self-driving car in SuperTuxKart! 🏎️💨